Your Cart
Installing Marine Carpet is Easier than you Think
Installing Marine Carpet is Easier than you Think

Let’s start by looking at the tools you’ll need for the job.
Tools you need to install marine carpet on your boat:
- Marine Carpet
- Marine Grade Adhesive
- Tape Measure
- Utility or Carpet Knife
- Scraper
- Mineral Spirits/ Acetone
- Small Clamps or Weights
- Trowel
- Roller or Stiff Broom
- Rags
How to install marine carpet on your boat:
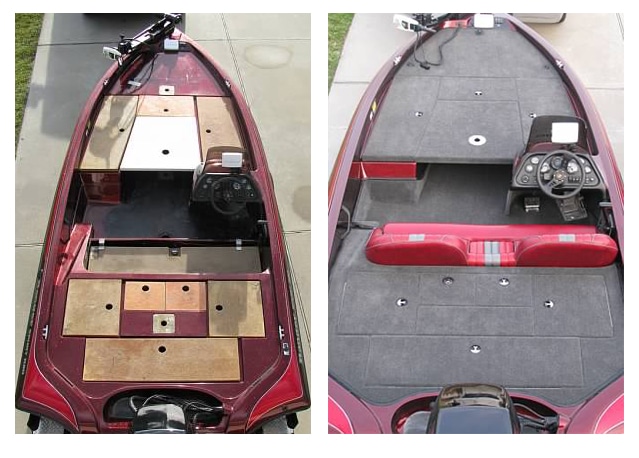
Step 1: Remove Old Carpet
TIP: If you haven’t done so already, remove seats and fixtures. Mark where they came from so that you can easily replace them later.
Remove old carpet and clean off any remaining glue residue using a scraper, mineral spirits and sand paper for heavy areas. Clean and dry all areas to be carpeted.
This is also a good opportunity to inspect the deck and areas below for water damage or hidden structural issues.
Step 2: Cut Carpet to Size
Before measuring and cutting your carpet, lay the carpet out, unrolled, in the sun for several hours (on a dry day, between 65F-90F). Allowing the carpet to warm softens the backing, making it more pliable and easier to handle, position and cut.
Then use oversized measurements to rough cut the carpet to approximate size. Lay carpet in place on the boat, using weights or clamps to prevent shifting. Custom cut carpet for an exact fit using a very sharp utility knife or carpet knife. Once fit is right, clamp or weigh carpet down to the left (port) side only. Fold carpet in half lengthwise (bow to stern), revealing the right side of the floor.
TIP: Always allow for extra when you are doing your measurements. The carpet has direction, so the carpet needs to be in the same direction on each cut piece. When you’re measuring how much carpet you need, be sure to include other carpeted areas, like walls and speaker boxes you may want to add carpet to later. It’s better to have too much than not enough. Remove seats and fixtures (mark locations and directions of each piece) for accurate measurements.
Step 3: Apply Adhesive
TIP: Do not start the following steps until you are sure you have 24-48 hours of dry weather with temps between 65F – 90F.
Apply carpet glue to the back of the carpet with trowel using circular motions moving from front to back.
You are looking to apply a thickness equal to a heavy coat of paint. Do not allow glue to puddle or leave any dry areas. For best results, allow glue to get tacky before unfolding carpet onto side with glue.
Be careful as you place carpet, once the glue has come into contact with your boat floor, it will not come up again, so make sure to lay the carpet straight, with no wrinkles.
You may now remove clamps and weight from the left side of the carpet and fold over the side just glued. Repeat glue application process.
Use a roller or stiff broom, from the center to all edges, to remove air bubbles and ensure good contact between carpet and glue. Without this step, bubbles or lines may develop or areas of carpet may come up over time.
The carpet will start to cure between 3-4 hours but should be left to dry fully (24hrs) before vacuuming, installing rails and seats or subjecting to foot traffic. Wait 48 hours before using in water.

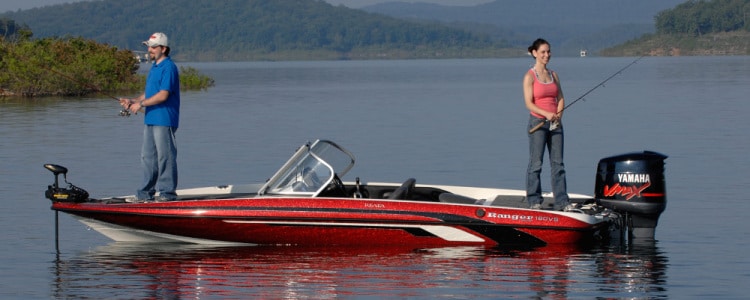
Step 4: Get out on the water with your newly carpeted (or re-carpeted) boat!
If you want to explore different kinds of marine carpet, check out the glue down flooring options we offer. We have a variety of different materials, textures and styles to fit every type of boat and budget.
